
Last weekend, you had a couple of guests over. You went back and forth from the kitchen to the patio all evening. At one point, you probably thought, “An outdoor kitchen would make this so much easier.” You may have thought it before, too.
The problem is knowing where to start. You see grills, countertops, and big inspiration photos, but you still do not know what comes first.
This guide helps you turn ideas into a plan. You will learn the practical decisions involved in outdoor kitchen installation, including where to place it and what utilities affect the scope. It also shows how to avoid costly rework, especially with the heat and heavy rain typical around Marietta and nearby Metro Atlanta neighborhoods.
At a glance
Decide the scope: Grill island, entertaining island, or full kitchen based on your cooking and hosting needs.
Choose a spot close to the house, considering drainage, smoke direction, and shade for comfort.
Organize your space into cooking, prep, serve, and cleanup zones for easy movement and function.
Use durable materials that can withstand heat, moisture, and weather conditions, reducing maintenance.
Higginbotham Designs can help you design and build a custom outdoor kitchen that fits your needs and budget.
Start With the 3 Decisions That Control Cost and Complexity
Decision 1: What are you building?
Start by choosing the level of build that matches your real needs.
Grill island: built-in grill, a small prep counter, and basic storage.
Entertaining island: more counter space, storage, and room for two to four stools.
Full outdoor kitchen: grill, extra cooking space, fridge, sink, and longer counters.
If you are not sure, choose the smallest setup that still supports how you cook.
Decision 2: How will you use it?
Usage decides layout and durability.
If you cook once in a while, you can keep the footprint tight.
If you host often, you need more prep space and easier traffic flow.
If you want kids and guests nearby, plan where people will stand and sit.
Decision 3: What utilities are involved?
Utilities are the biggest complexity driver.
No utilities: propane grill, simple island.
Electrical only: outlets, lighting, and a small fridge.
Gas plus electrical: built-in grill with a permanent fuel line.
Gas, electrical, and water: sink and a full kitchen setup.
Each utility can affect permitting, inspections, and the timeline. If you want clarity on what is realistic for your patio and yard, you can get a consultation from Higginbotham Designs before you finalize the design.
Pick the Right Spot in Your Yard (So It Feels Easy to Use)
Proximity: Place the kitchen within 10-15 feet of the back door for easy access to plates, prep tools, trash, and quick cleanup.
Smoke and wind: Position the grill at least 5 feet away from seating areas and ensure it’s angled to avoid smoke drifting toward neighbor windows.
Shade: Add a pergola or umbrella over cooking zones to block direct sunlight, and include space for a fan or lighting for comfort.
Slope and drainage: Ensure the site is flat with proper drainage, avoiding areas where puddles form after rain. Make sure water runs away from the kitchen base and cabinets.
Layout That Works While You Cook and While You Host
Four Key Zones:
Hot Zone: Grill, side burner, smoker, or pizza oven.
Prep Zone: Counter space for cutting and plating.
Serve Zone: Landing space for trays and drinks.
Clean-up Zone: Trash access, optional sink, and wipe-down area.
Space to Move:
Keep a clear path behind the cooking area and around seating.
Ensure space to open grill lids, fridge doors, and drawers.
Essential Surfaces:
Prep space: Near the grill for raw and cooked food.
Landing space: For trays, utensils, and hot items.
Serving area: For easy access to food without crowding the cook.
Tip: Expand prep and serve zones before adding extra appliances if you cook for larger groups.
Choose Materials That Do Not Warp, Rust, or Crack Outdoors
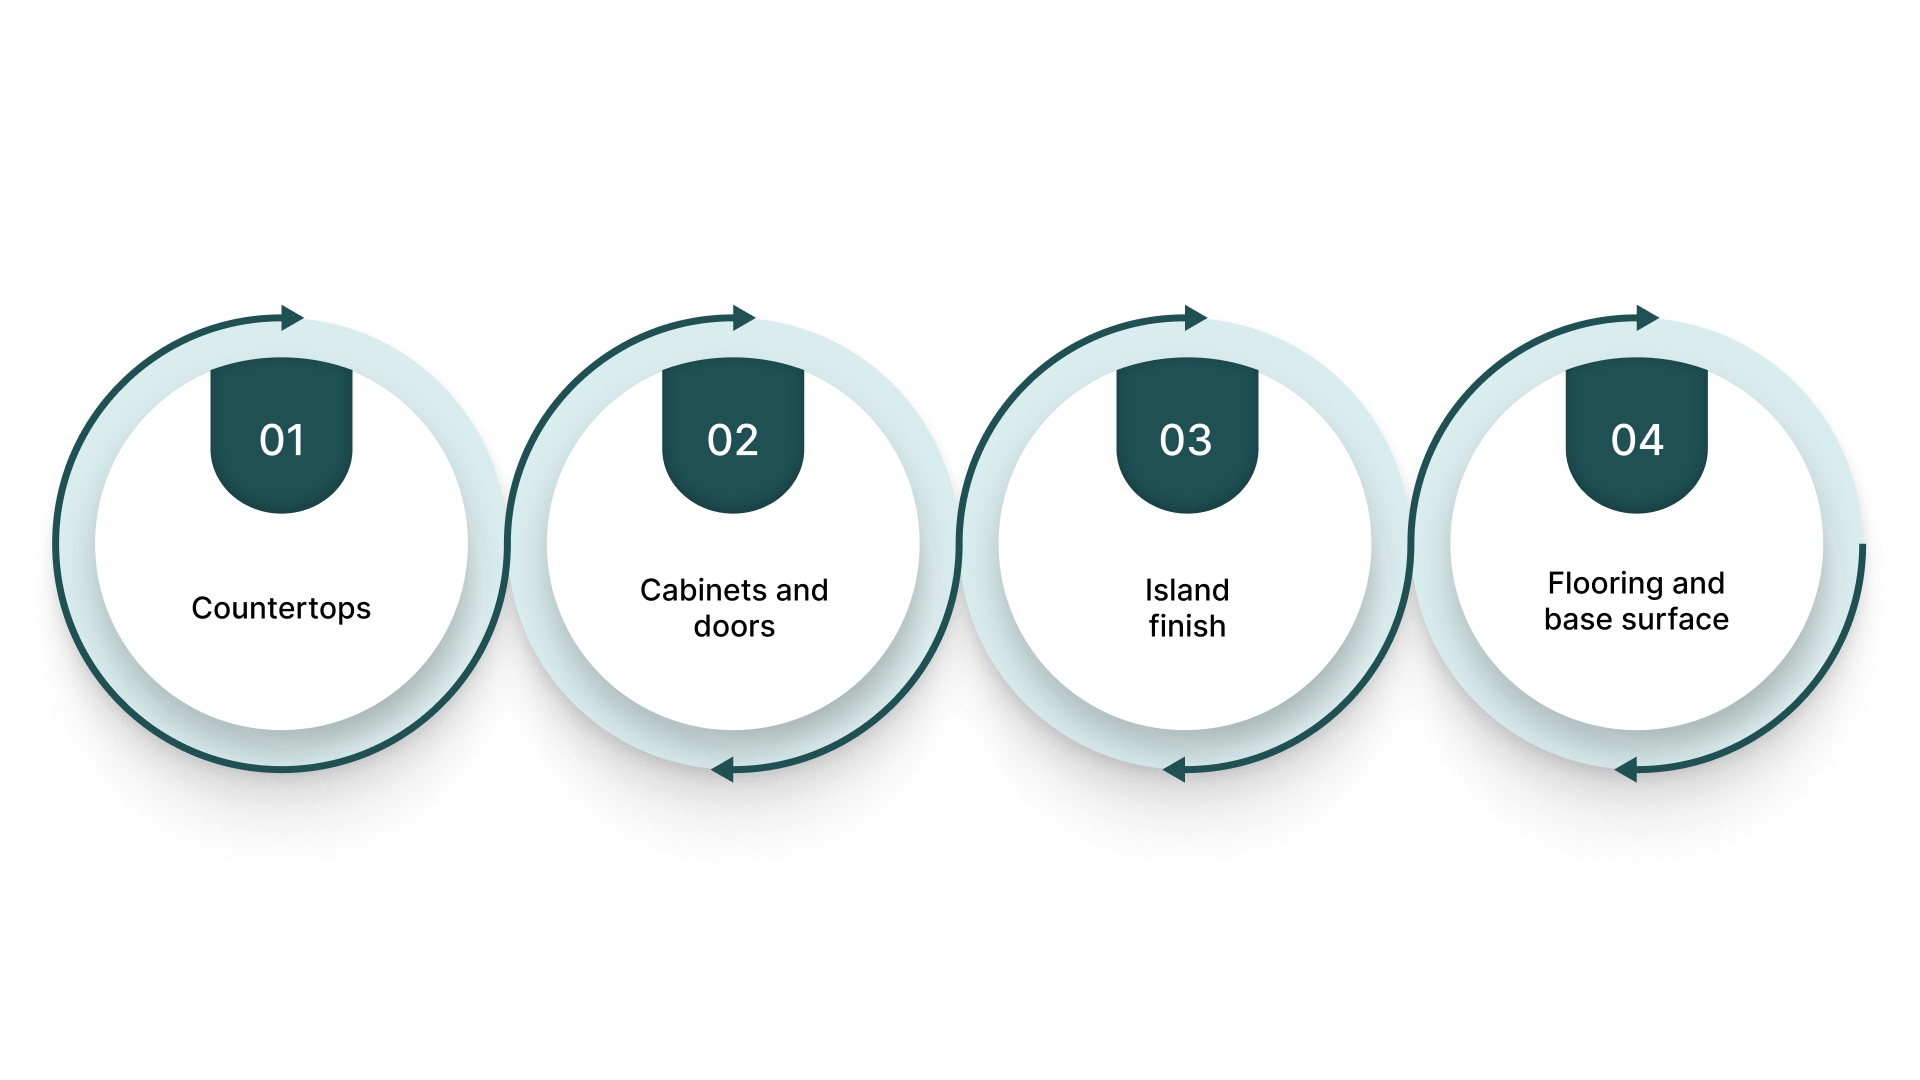
Countertops: focus on heat, stains, and sealing
Countertops take heat from grills, spills from sauces, and constant sun. When you compare options, ask:
Will it handle heat from hot pans and grill tools?
Does it stain easily?
Does it need sealing, and how often?
If you do not want high upkeep, avoid materials that require constant resealing and careful cleaning.
Cabinets and doors: indoor materials fail outdoors
Look for:
Outdoor-rated construction
Corrosion-resistant hardware
Easy access panels for gas and electrical service
Island finish: choose durability and repairability
The island face is often finished with stone veneer or similar materials. Your choice affects both appearance and long-term upkeep.
Stone-style finishes can match patios and retaining walls well.
Some finishes show dirt and splash marks more than others.
Repairs are easier when the finish can be replaced in sections.
Flooring and base surface: do not ignore drainage
Before you choose finishes, confirm:
Water drains away from the kitchen footprint
The surface has a safe grip when wet
The base can support the weight of the island and appliances
Now that you understand layout and materials, the next step is deciding on utilities and safety needs before any build starts.
Utilities and Safety: What You Should Decide Before Any Build Starts
Utilities can change the scope of your outdoor kitchen project. Planning power, gas, and water early simplifies installation and avoids rework.
1. Electrical:
Most outdoor kitchens need more power than you expect. Think through what you will plug in and where you will stand while cooking.
Plan for:
Outlets near prep space for small appliances
Power for a fridge if you add one
Task lighting over the grill and prep area
Pathway lighting so guests are not walking in the dark
A simple test is to stand where the grill will be and imagine cooking after sunset. If you cannot see the prep surface clearly, the lighting is not planned well.
2. Gas:
Fuel choice affects installation.
Propane is simpler for many small builds because you can store a tank in the island.
Natural gas can be convenient, but it often requires planning for line routing, shutoff access, and professional connection.
No matter what you choose, you need safe access to shutoffs and service points. If a shutoff is buried behind finished stone, it becomes a problem later.
3. Water:
A sink can make hosting easier. It can also add complexity, especially if the kitchen is far from existing plumbing.
Before you commit to a sink, decide:
Where can the water line run?
Where will the drainage go?
How will you protect lines in colder weeks?
If you are not sure a sink is worth it, focus on better prep space and a simple cleanup plan first.
4. Heat clearance and safety spacing
Outdoor kitchens are still real cooking spaces. Heat and smoke need room.
Use these safety checks:
Keep the grill away from walls, fences, and seating edges
Avoid placing heat sources under low overhangs
Leave space so lids and doors open fully
5. Scope triggers that usually mean more planning
If you check any of these, expect more coordination:
New electrical circuits
Gas line extension
Sink and drain lines
A covered structure over the kitchen
A long distance from the house to the kitchen location
If you want a clear utilities plan tied to your patio and layout, you can get a consultation from Higginbotham Designs before installation decisions are locked in.
Permits in Marietta and Cobb County (What Usually Triggers Them)
Permits ensure safe gas, wiring, and plumbing work. For outdoor kitchens, they are typically required when adding utilities or building permanent structures.
If you are in the City of Marietta
Electrical Permit: Required for adding outlets, new circuits, or connections needing inspection.
Plumbing Permit: Required for water supply, sewer work, and gas line installations (gas is under plumbing in Marietta).
Gas and Mechanical Work: Required for gas supply work and certain ventilation or exhaust changes.
Building Permit or Plan Review: Required for new construction or alterations, especially for adding permanent structures.
If you are in unincorporated Cobb County
In unincorporated Cobb County, permits are required for electrical, mechanical, plumbing, gas, or building construction, often triggered when utilities are involved in outdoor kitchens.
Common outdoor kitchen elements that often trigger permits
New electrical circuits or added outlets for the grill area, fridge, lighting, or fans
Gas line extension or new gas connection for a built-in grill or side burner
Water supply and drain lines for a sink or bar setup
Permanent structures tied to the kitchen, such as built-in roofs or structural changes
A permit-ready prep list that saves time
Having these ready helps the permit conversation move faster:
Rough layout with measurements and appliance locations
What you are adding: electric, gas, water, or all three
Photos of the patio area, slope, and access path
Where shutoffs and service access will be located (do not bury these behind finishes)
Higginbotham Designs can help plan the scope, utilities, placement, and build approach beforehand to prevent inspections from delaying the project.
Outdoor Kitchen Installation Steps (Real Build Order)
Follow the proper build order for smoother outdoor kitchen installation. Install hidden elements behind stone or countertops before finishing work.
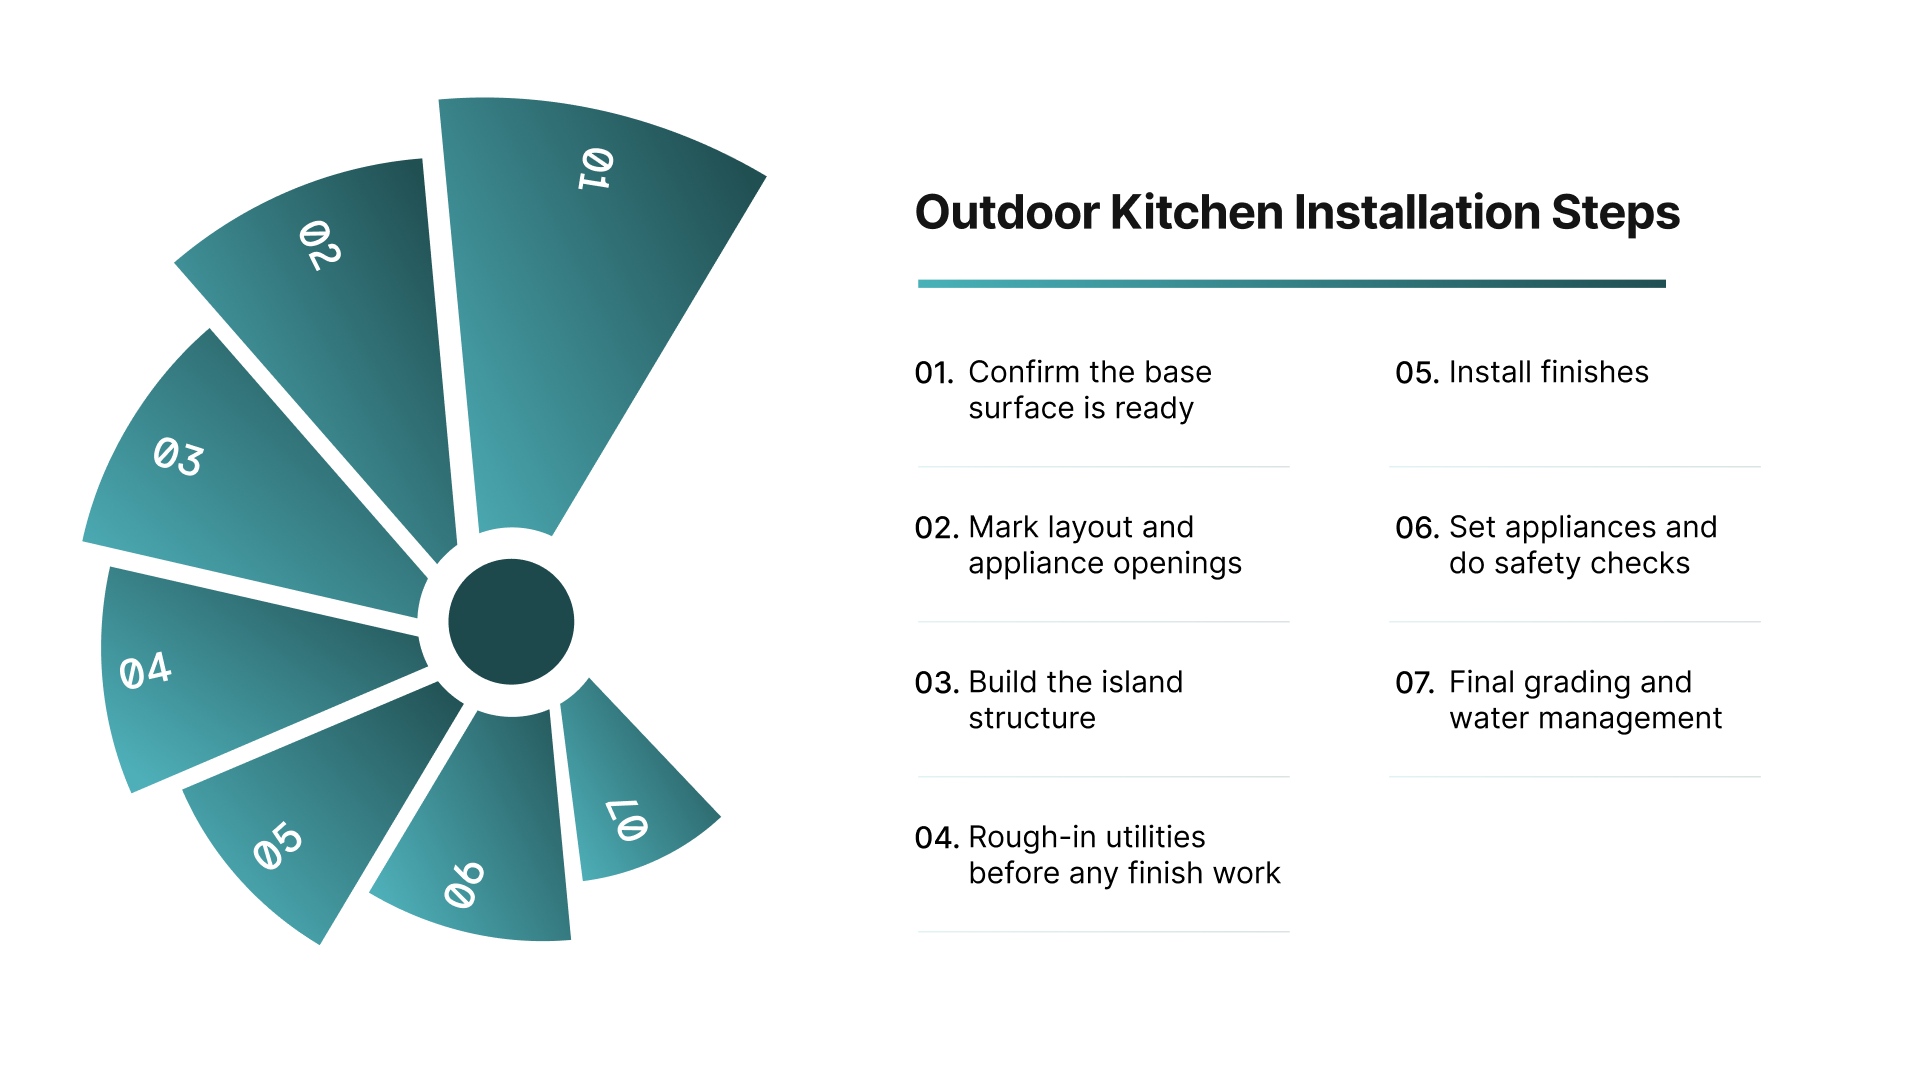
1. Confirm the base surface is ready
Your kitchen needs a stable surface that can support weight and drain water.
Check for:
A firm, level area for the island footprint
A surface that does not pond water after rain
Enough space for appliance doors, drawers, and grill lids to open
If your patio is uneven or the area slopes, plan grading or base work first. A great kitchen on a bad base turns into constant small problems.
2. Mark layout and appliance openings
Use painter’s tape or chalk to outline:
Island footprint
Grill opening size
Door and drawer locations
Walk paths around the kitchen
This step helps you catch issues early, like a fridge door opening into a seating area.
3. Build the island structure
Most islands are built with a framed structure or masonry base. The goal is a strong, level core with correct openings for appliances.
Plan for:
level and square corners
access panels where you need service
support for countertop weight
ventilation where required for appliances
Now that the island is built, stop before finishing and confirm utilities.
4. Rough-in utilities before any finish work
This is the point where many DIY builds go wrong. Utilities must be in place before the island is wrapped.
Run electrical and set outlet locations.
Route gas lines and place shutoffs where you can reach them.
If you add water, run the supply and drain lines, and confirm slope and access.
Do not close up the island until you can verify access points and inspection needs.
5. Install finishes: veneer, countertops, doors, and trim
Once utilities are ready, you can add the visible layers:
Stone or veneer finish
Countertop install and sealing if required
Cabinet doors, drawers, and hardware
Trim pieces and edge protection
Keep service access clear. A clean look matters, but future maintenance matters too.
6. Set appliances and do safety checks
Install the grill, burners, fridge, and any other appliances. Then confirm:
Gas connections are secure and checked for leaks
Outlets work and are safe for outdoor use
Lighting works where you prep and cook
Heat sources have safe clearance around them
7. Final grading and water management
Finish by making sure water drains away from the kitchen area.
Correct any low spots that collect water
Direct runoff away from the island base
Keep downspouts and roof water from dumping near the kitchen
Now that you understand the build order, the next step is cost and timeline, so you can plan the project realistically in Metro Atlanta.
Cost and Timeline: What Changes Your Price in Metro Atlanta
Cost Drivers for Outdoor Kitchens:
Size & Footprint: Larger islands need more materials and labor.
Utilities Distance: Longer gas, power, or water lines increase costs.
Appliance Count: More appliances mean extra work for openings and ventilation.
Finish Choices: Countertop and island finishes impact price and maintenance.
Site Access: Tight yards or stairs increase labor and delivery.
Base Work: Patio upgrades, leveling, and drainage add to scope.
Budget Tiers:
Basic: Grill island, propane, minimal lighting.
Mid-range: Built-in grill, electrical, upgraded counters, more storage.
Premium: Gas, electrical, water, multiple appliances, high-end finishes.
Timeline Factors:
Permit Approvals: Approval and inspection timing.
Weather: Impacts base work and masonry.
Material Lead Times: For appliances and countertops.
Plan utilities and appliances early to avoid delays.
Mistakes That Cause Rework And How to Avoid Them
Outdoor kitchens often seem nearly finished, but issues arise when key steps are skipped. Use these checks to save time and avoid costly rework.
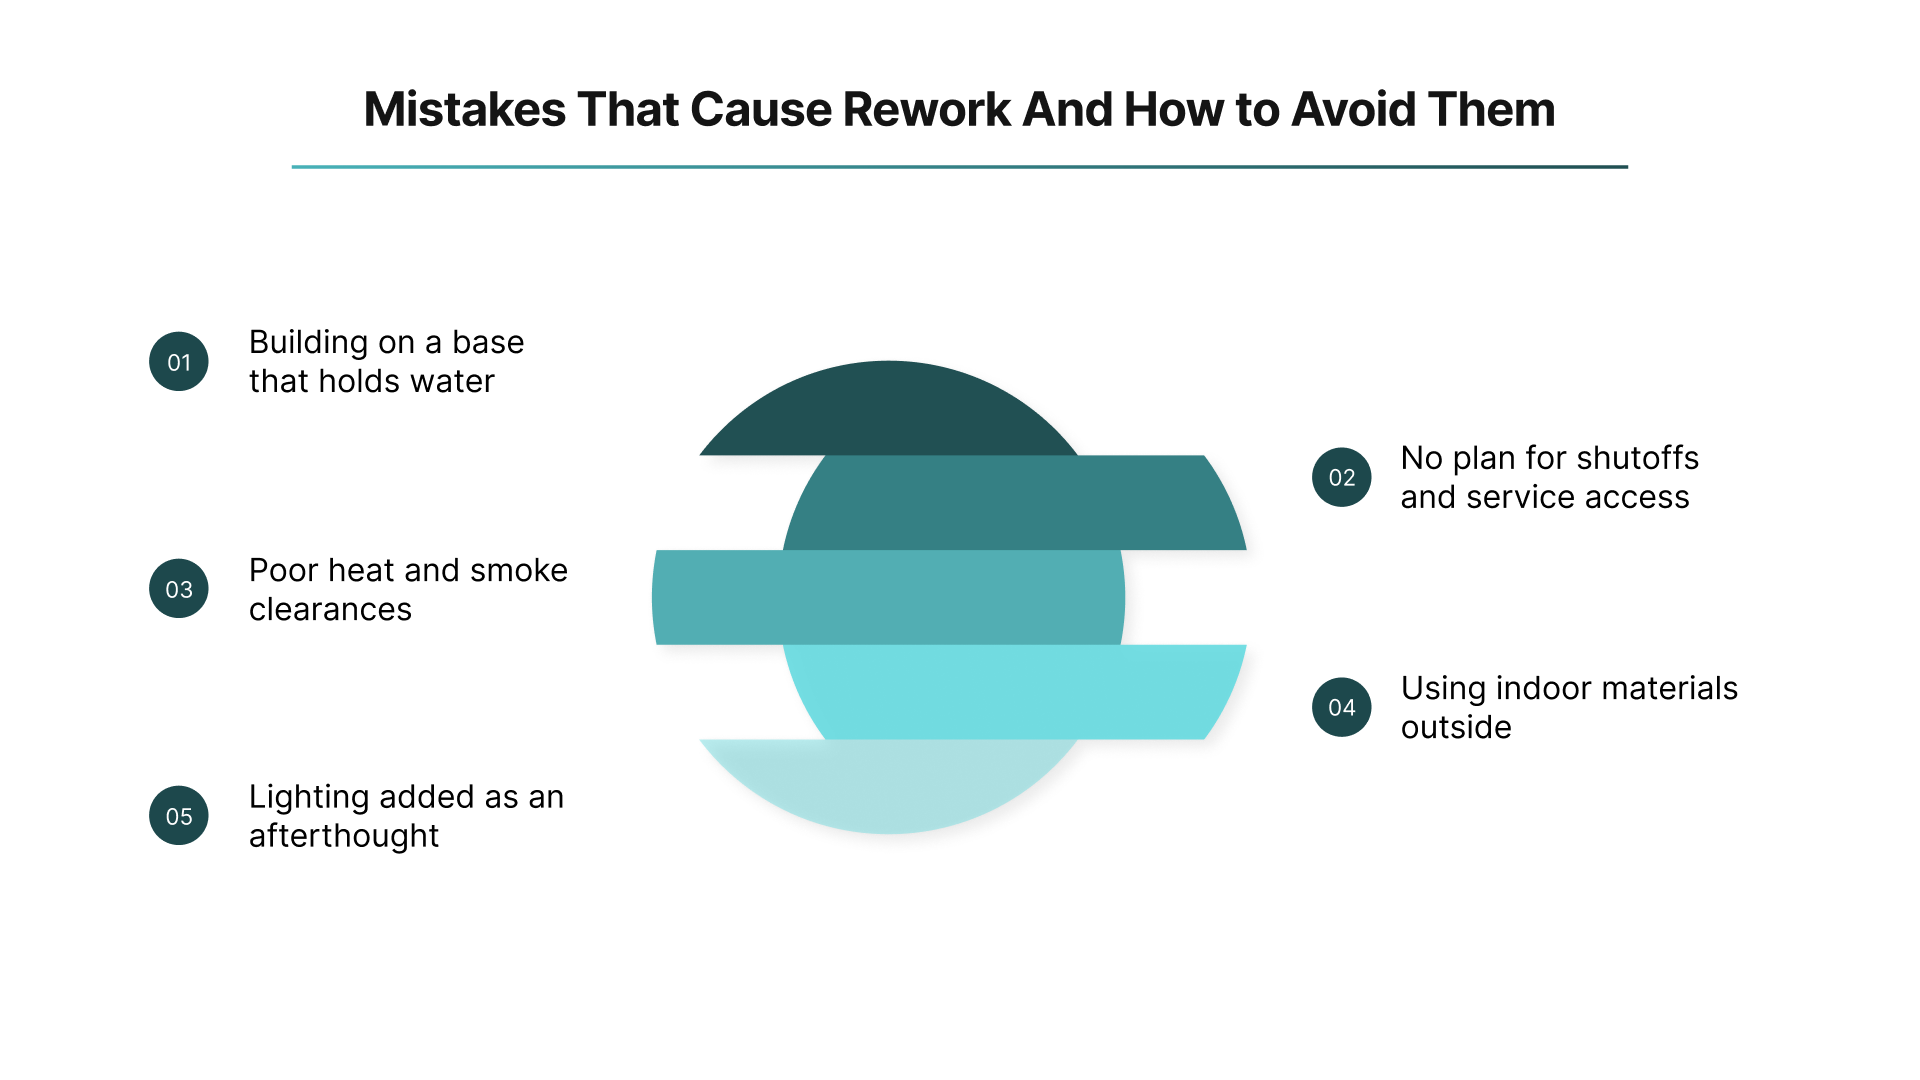
Mistake 1: Building on a base that holds water
Avoid water pooling by choosing a naturally draining spot, fixing low areas, and sloping the surface away from the kitchen footprint.Mistake 2: No plan for shutoffs and service access
Plan access panels for gas, electrical, and plumbing connections, and keep shutoffs reachable without moving appliances.Mistake 3: Poor heat and smoke clearances
Ensure space around the grill, avoid placing it under low overhangs, and angle the cook area to direct smoke away from seating.Mistake 4: Using indoor materials outside
Choose outdoor-rated cabinets and corrosion-resistant hardware, and pick finishes that withstand sun, humidity, and spills.Mistake 5: Lighting added as an afterthought
Plan task lighting over the grill and prep surfaces, add path lighting for safe movement, and plan switches early.
By following these steps, you can avoid costly rework and make your outdoor kitchen a lasting investment.
Working With Higginbotham Designs for Outdoor Kitchens
Outdoor kitchens work best when the patio, utilities, finishes, and landscaping are planned as one project.

Higginbotham Designs is a family-owned and veteran-owned outdoor living and hardscape company based in Marietta, Georgia, with 35-plus years of experience.
You get a guided process that keeps the build practical, so your layout and materials match how you actually use your yard.
Services that support an outdoor kitchen project
Custom patios and hardscape installation: gives your kitchen a stable base that drains well and supports weight.
Outdoor living spaces: help plan seating, traffic flow, and comfort around the cook area.
Landscape design and landscaping: softens the space and improves privacy, shade, and curb appeal.
Retaining walls: support sloped yards so you can create a level kitchen and seating zone.
Water features: add a calming focal point that complements an outdoor kitchen and entertaining area.
Service areas
Marietta, East Cobb, West Cobb, Kennesaw, Smyrna, Roswell, Acworth.
Conclusion
Outdoor kitchen installation is smoother with early decisions. Start with scope, pick a comfortable, well-draining spot, and design a layout that supports both cooking and hosting.
Select durable materials that withstand the elements, and plan utilities and permits before finishing to avoid costly rework.
For a clear plan personalized to your Marietta or Metro Atlanta yard, request a quote from Higginbotham Designs to align your patio, utilities, and budget.
FAQs
1. Do you need a cover or pergola for an outdoor kitchen?
Not always. A cover can improve comfort and protect appliances, but it adds structural planning and may affect permits.
2. Can you place an outdoor kitchen on a wooden deck?
It depends on the deck’s structure and load capacity. Many kitchens are heavy, especially with stone and countertops.
3. What appliances are worth adding first?
A grill and dedicated prep space usually deliver the biggest day-to-day value. Add a fridge or burner only if you use them often.
4. How do you protect outdoor appliances when you are not using them?
Use fitted covers, keep vents clear, and plan storage for small items. Good drainage around the base also helps.
5. How do you handle bugs and pests around an outdoor kitchen?
Control food scraps, keep trash sealed, and avoid gaps where pests can nest. Lighting placement can also help reduce insects.