Last weekend, you stepped into your backyard and saw the same problem again. The space has potential, but the slope makes it hard to use. When friends come over, everyone ends up clustered on the one flat spot near the door.
You may have thought about a bigger patio, then paused because the yard is not level. That is where a two-level patio can help. It creates two usable zones without fighting the grade.
It can also make hosting feel smoother because cooking, dining, and lounging do not compete for the same space. The ideas below help you choose a layout you will actually use.
Overview
Two-level patios optimize sloped yards, creating distinct zones for activities like dining and lounging, making the space more usable.
Start by selecting a layout type: stacked, terraced, side-by-side, or sunken lounge based on your yard's shape and needs.
Proper step placement and drainage design ensure seamless flow and prevent water buildup between levels.
Repeat materials and incorporate borders, lighting, and planting to unify both levels visually for a cohesive look.
Higginbotham Designs offers expert consultation and installation for creating functional, well-designed two-level patios in Marietta.
What a Two-Level Patio Really Is And Why It Works?
A two-level patio is a patio built on two connected surfaces that sit at different heights. The levels are linked with steps, wide landings, or terraced transitions. Instead of forcing one flat patio across a sloped yard, you work with the grade and turn it into usable space.
Most two-level patio designs do one of these things well:
Solve a slope problem by creating flat areas where you can place furniture
Separate activities so dining, cooking, and lounging feel less crowded
Improve the look of the yard by adding structure and cleaner lines
In Marietta and Metro Atlanta, where grade changes are common, a two-level patio offers structure and flow, enhancing both functionality and appearance.
Now that you know what it is, the next step is picking the layout type that fits your yard.
Start Here: Pick the Two-Level Layout Type That Fits Your Yard
Two-level patios look best when the layout matches your yard shape and how you host. Use these common layout types to narrow your options before you choose materials or features.
Layout type | Best for | Watch-outs |
Stacked levels (upper near house, lower farther out) | Sloped yards where you want dining close to the door and lounging deeper in the yard | Steps must not cut through the main seating area |
Terraced wide steps (levels blend together) | Families and frequent hosting, where people move between zones often | Needs enough depth so steps feel comfortable, not cramped |
Side-by-side split (two zones at different heights, next to each other) | Wide backyards where you want one level for dining and one for a fire feature or play area | Edges must be handled cleanly so that it does not feel like two separate patios |
Sunken lower lounge (a lower “conversation pit” feel) | Privacy and a cozy vibe, especially for evening use | Drainage planning matters so that water does not collect on the lower level |
With your layout in mind, here are two-level patio ideas personalized to your space, along with why each one works.
Top Two-Level Patio Ideas You Can Copy
Two-level patios work best when each level has a clear purpose, one for active moments like grilling, the other for relaxing. The ideas below fit Marietta’s backyard needs, balancing sun exposure and quick rain.
Idea 1: Elevated Dining With Ground-Level Lounging

Design concept: Keep dining on the upper level near the back door, then drop down to a lounge zone with deeper seating.
Functional advantage: Food runs stay short, and the lower level keeps post-meal conversation from crowding the table.
Visual appeal: The height change creates a “room shift” that feels intentional, especially with a clean step edge.
Key design consideration: In Georgia heat, place the lounge level where you can add shade later, such as a pergola or umbrella base.
Idea 2: Upper Outdoor Kitchen, Lower Relaxation Zone
Design concept: Put the grill and prep counter on the upper level, then place the hangout zone below with a coffee table and chairs.
Functional advantage: Cooking stays close to indoor access, while guests sit away from heat and smoke during cookouts.
Visual appeal: The lower level feels like a destination for game-day conversations and late-night summer chats.
Key design consideration: Plan step lighting and a clear path, since backyard evenings in Metro Atlanta often run past sunset.
Idea 3: Multi-Level Pool and Sun Deck
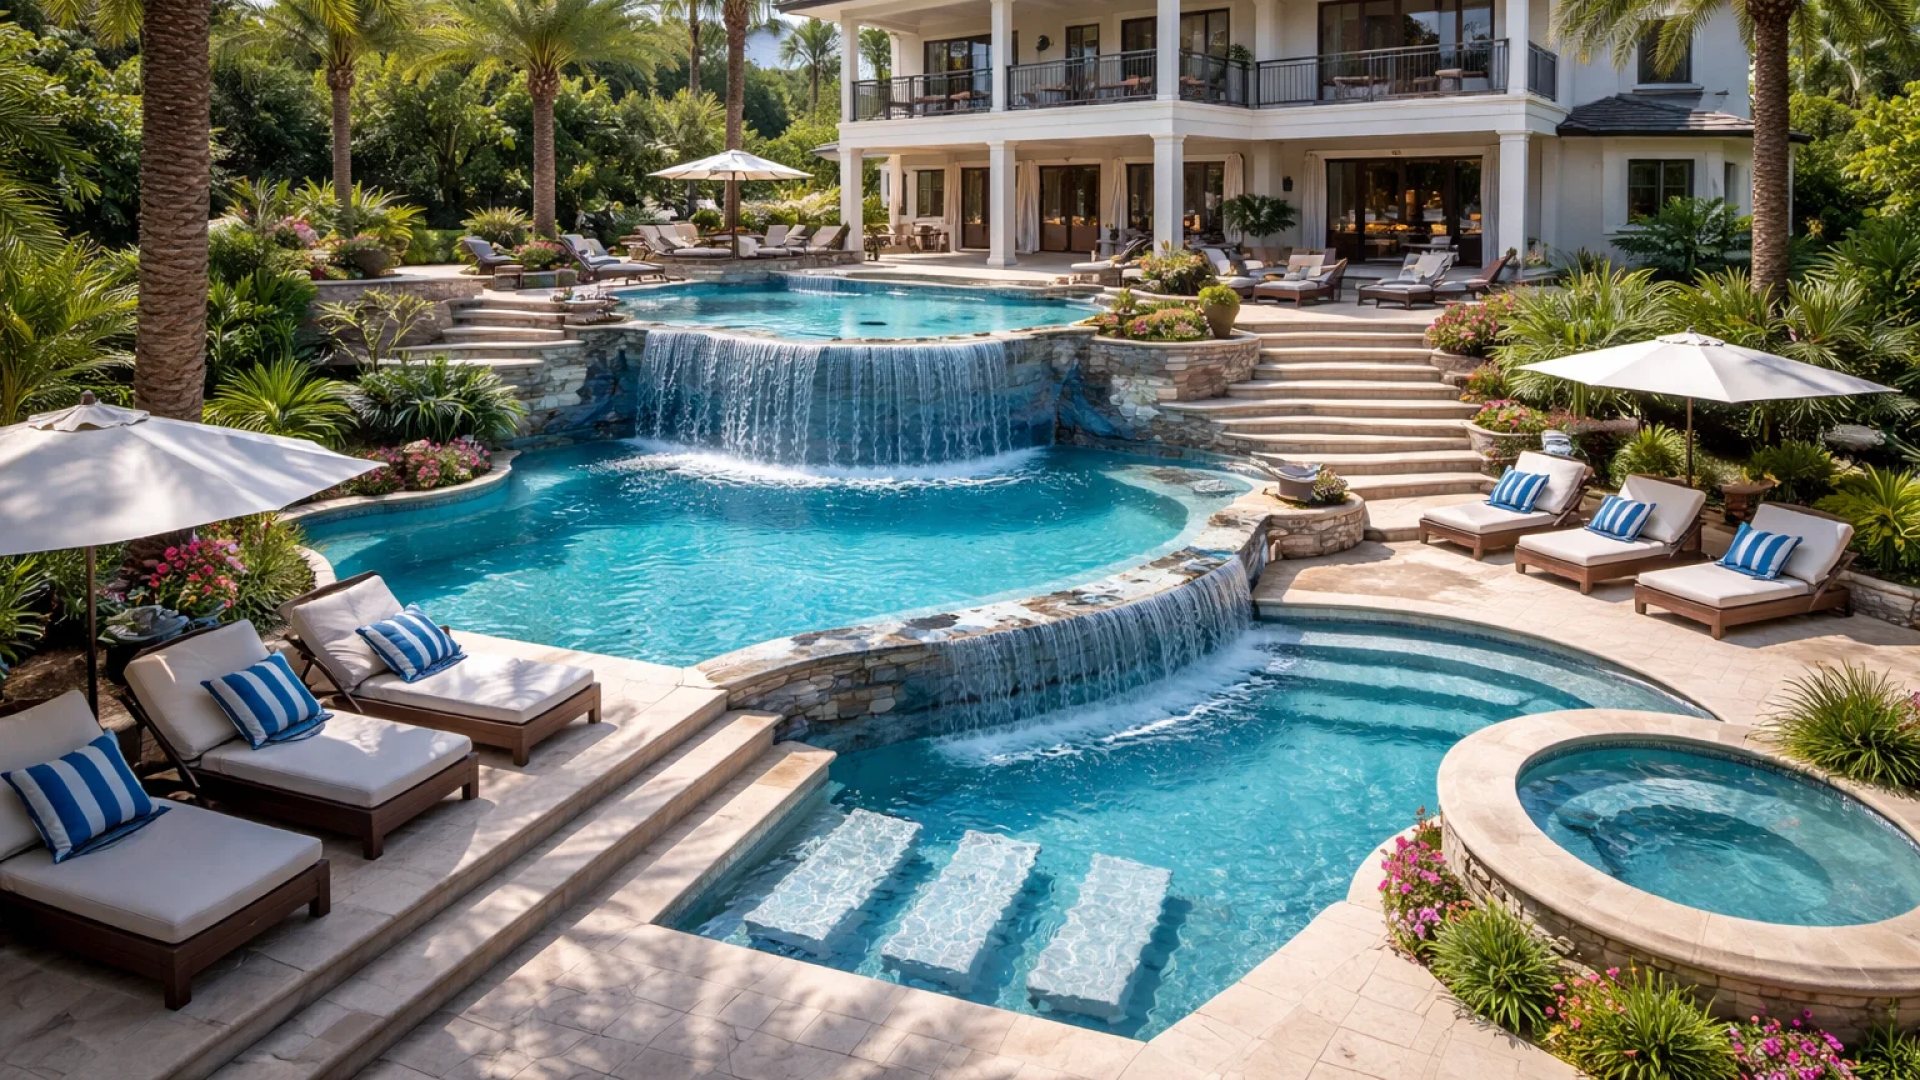
Design concept: Use the lower level as the pool deck, then connect up to a dining or shaded lounge level with wide steps.
Functional advantage: Wet traffic stays near the pool, while food and seating stay cleaner and easier to manage above.
Visual appeal: The layered deck-to-patio look feels more like a resort setup than a single flat pad.
Key design consideration: Choose surfaces that handle splash and storms, and avoid low spots where water can sit after heavy rain.
Idea 4: Private Retreat Above, Entertainment Below
Design concept: Use the upper level as a quiet sitting spot with two chairs and a small table, while the lower level handles grilling and group seating.
Functional advantage: You get a calm space even when guests are over, and the lower level keeps foot traffic away from the retreat zone.
Visual appeal: The top level feels like a balcony for the backyard, especially with planting along the edge.
Key design consideration: In many Marietta neighborhoods, privacy matters. Use layered planting on the upper edge so you feel screened without blocking airflow.
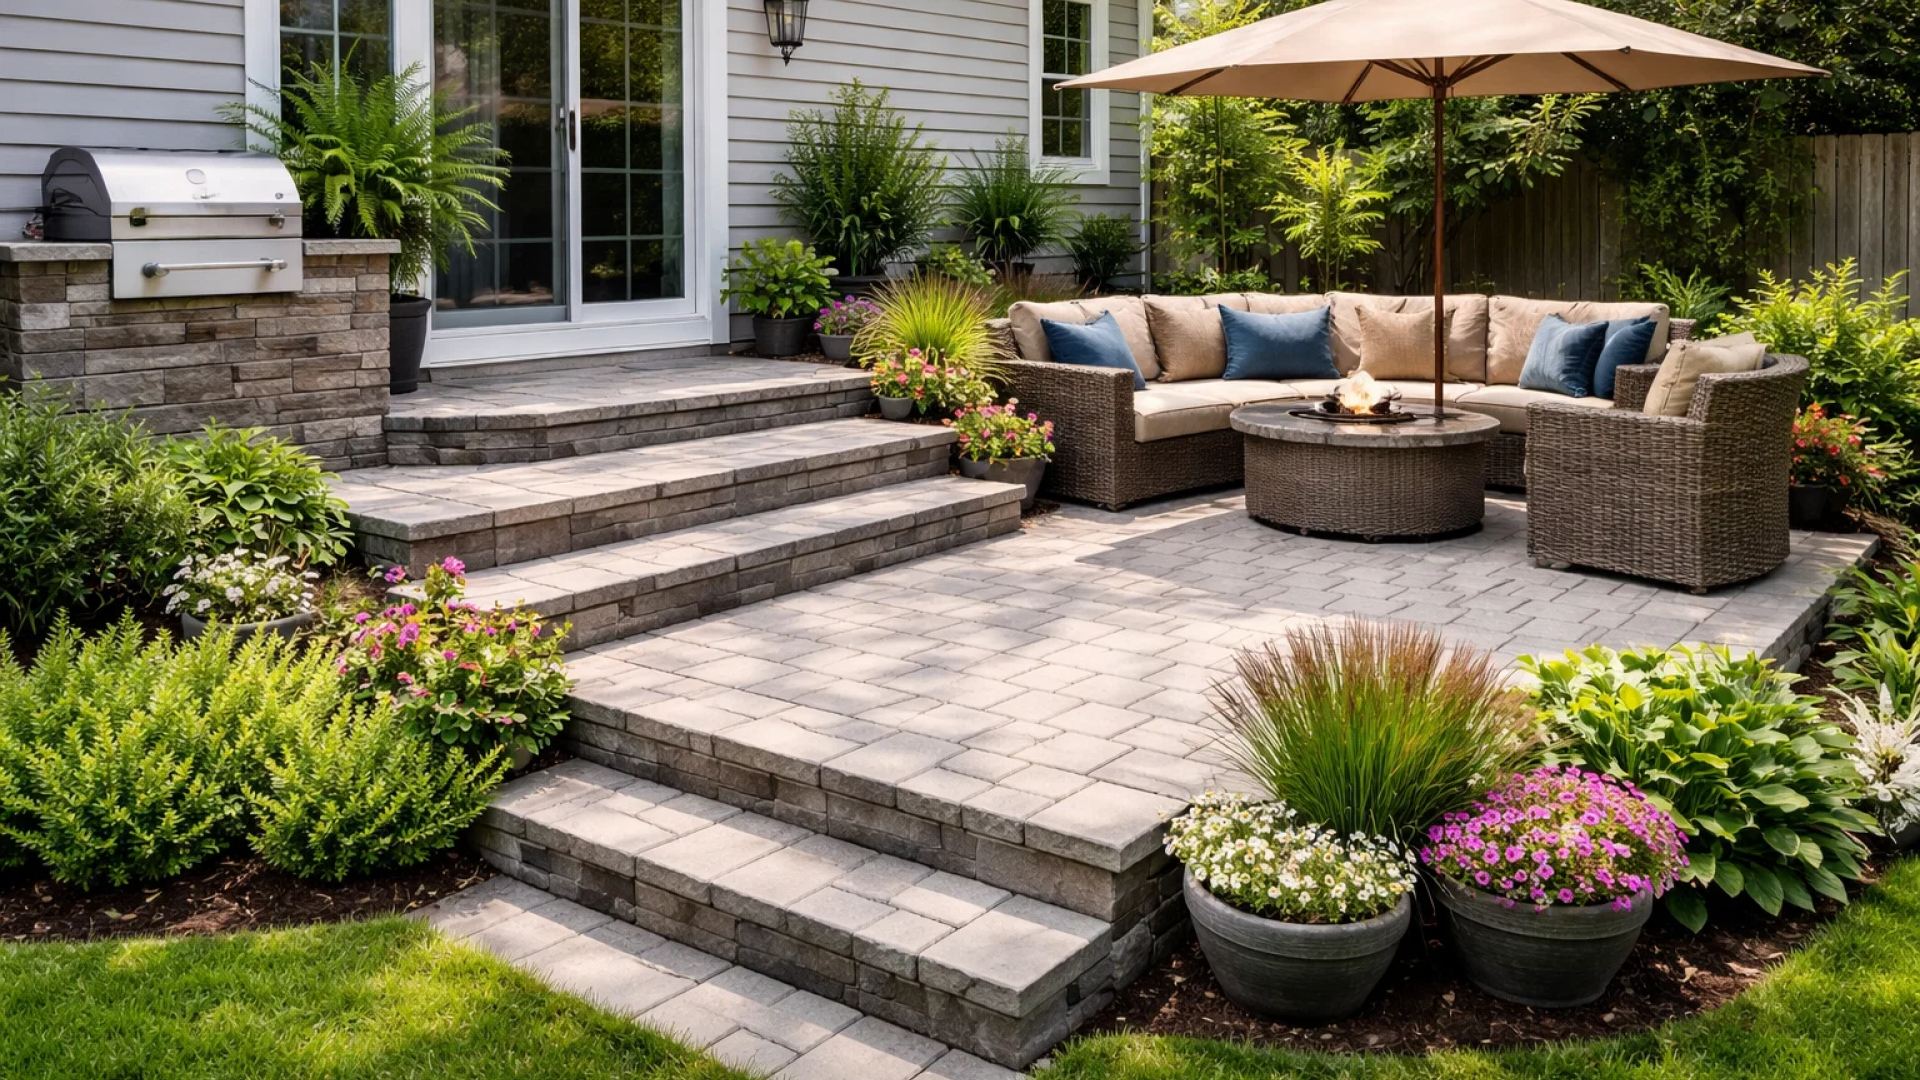
Idea 5: Terraced Patio With Wide Steps
Design concept: Instead of a sharp “upper and lower,” use wide terraced steps that act as a bridge between levels.
Functional advantage: People move between zones naturally, and the steps double as extra seating during cookouts.
Visual appeal: Wide steps feel high-end because the transition looks designed, not forced by the slope.
Key design consideration: Wide steps are great for hosting, but only if they are not steep. Keep the transition comfortable so kids and guests do not hesitate.
Idea 6: Central Patio With Winged Steps
Design concept: Build a central main level, then split steps to the left and right into a lower lounge or garden-level zone.
Functional advantage: Traffic is spread out, so guests are not all funneling through one narrow stair path.
Visual appeal: Winged steps create symmetry and make the backyard feel larger than it is.
Key design consideration: If your yard gets heavy runoff during storms, place the step split where water can drain away, not toward the center landing.
Idea 7: Covered Extension to a Sunlit Lower Level

Design concept: Keep the upper level covered for dining or casual seating, then step down to an open lower level that gets more sun.
Functional advantage: You get shade when it is hot, plus an open area that works better in cooler months.
Visual appeal: The contrast between covered and open zones makes the backyard feel layered and planned.
Key design consideration: In Metro Atlanta, quick storms are common. Place the covered level where people naturally gather, so you do not rush inside when the rain starts.
Idea 8: Integrated Seating With Stadium Stairs
Design concept: Use wider, deeper steps between levels and build in seating along the step edge, like stadium tiers.
Functional advantage: It adds seating without filling the patio with chairs, which helps when you host larger groups.
Visual appeal: Stadium stairs feel custom and modern, especially with clean lines and soft lighting.
Key design consideration: Add step lighting and keep the “sit” edges comfortable, so it feels like seating, not a hard stair that no one uses.
Idea 9: Fire Feature Zones Across Levels
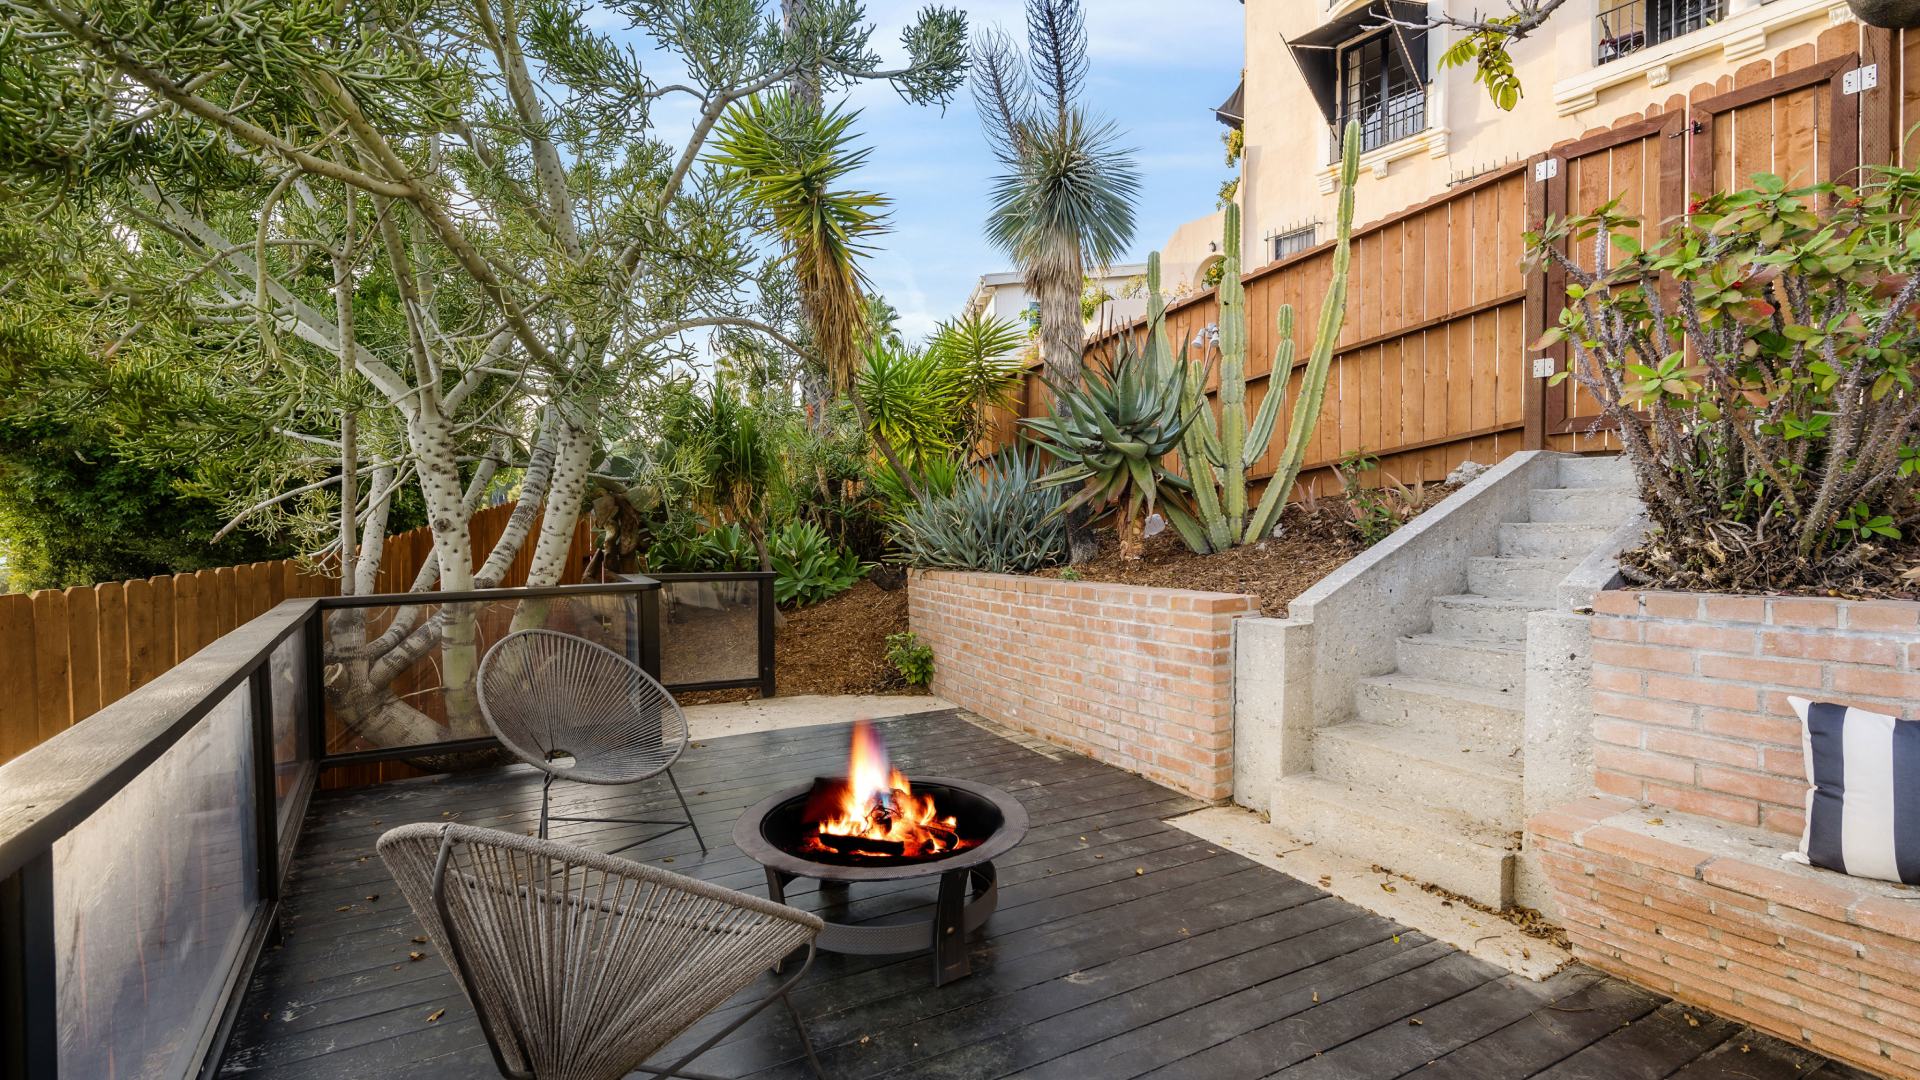
Design concept: Place dining or cooking on the upper level, then make the lower level the fire feature zone for after-dinner gatherings.
Functional advantage: Heat and smoke stay away from the meal area, and guests naturally move to the fire once food is done.
Visual appeal: A fire feature looks more dramatic when it sits slightly lower, framed by the upper patio edge.
Key design consideration: In Marietta, fall and winter evenings, the fire zone becomes the reason people stay outside longer, so plan comfortable seating and safe step paths.
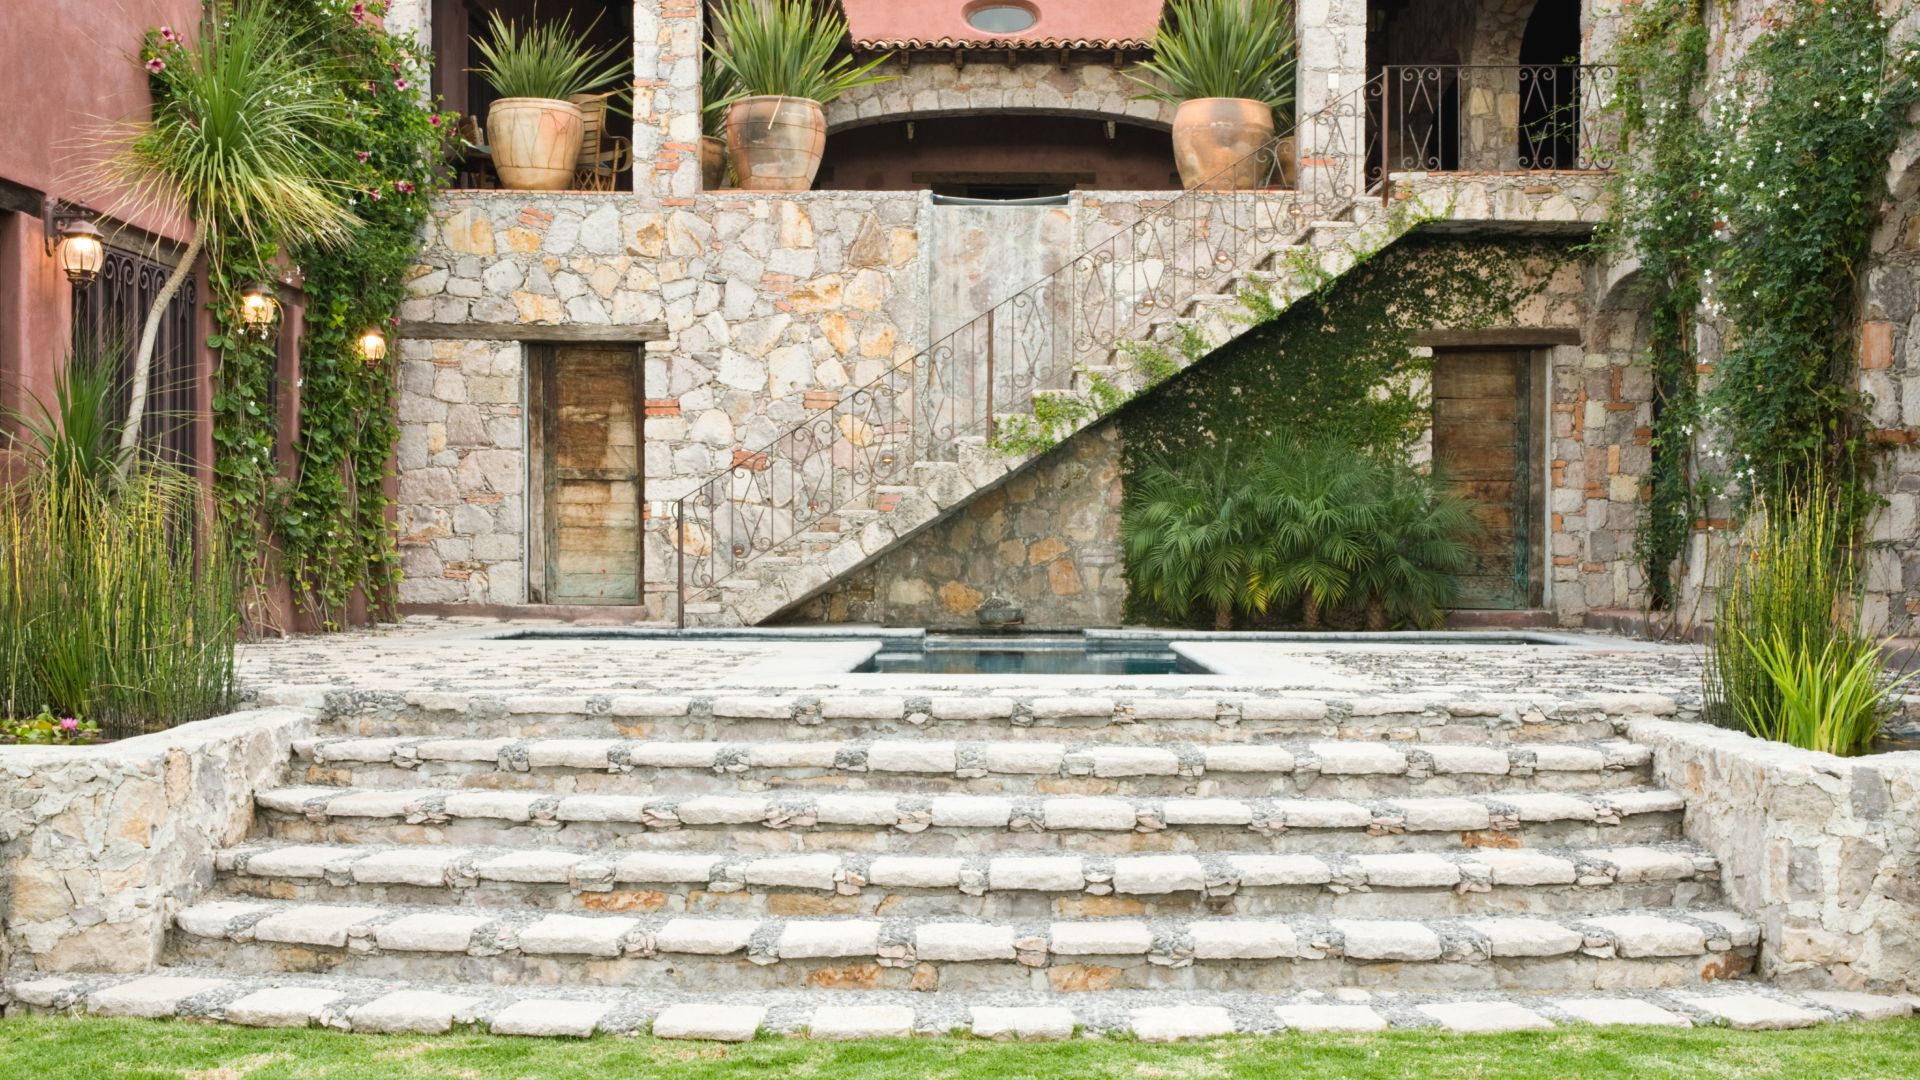
Idea 10: Unified Materials With a Water Feature Link
Design concept: Use the same patio surface on both levels, then add a small water feature near the transition so the eye moves naturally between zones.
Functional advantage: The water sound helps soften street noise and creates a calmer feel for seating areas.
Visual appeal: The two levels feel connected, not separate, because the focal point sits between them.
Key design consideration: Place the feature where splash and runoff will not send water onto steps or walking paths.
Idea 11: Small Yard Two-Level Patio With Corner Steps
Design concept: If space is tight, push steps into a corner and keep the main patio faces clean for furniture.
Functional advantage: You save usable square footage and avoid a step run cutting through the center of the layout.
Visual appeal: Corner steps make the design feel intentional, especially when bordered with planting or low walls.
Key design consideration: Keep the corner well-lit, since narrow yards often have tighter sight lines at night.
Idea 12: Dining Nook Above, Play Zone Below (Family-First)
Design concept: Put a smaller dining nook on the upper level, then use the lower level as an open zone for kids, games, or extra seating.
Functional advantage: Adults can eat and talk while still keeping an eye on the lower level.
Visual appeal: The open lower zone keeps the backyard from feeling overbuilt, even with two levels.
Key design consideration: Choose durable surfaces and plan drainage, since lower zones often catch runoff during heavy rain.
For expert patio planning in Marietta and nearby areas, consult Higginbotham Designs to create a two-level layout that suits your yard's slope, flow, and hosting needs.
Steps and Flow That Make Two Levels Feel Easy
Place Steps Along Natural Paths: Position steps on common walk routes (e.g., from the back door to the grill) to avoid disrupting seating zones.
Use Landings for Abrupt Grade Changes: Add a landing to soften transitions and provide space for lighting or planters.
Ensure Safe Transitions After Sunset: Install step or edge lighting to highlight changes and prevent slipping, especially in damp areas.
Now that steps and movement are handled, the next step is defining the levels with walls and edges so the patio looks finished.
Retaining Walls, Seat Walls, and Edges (The Finish Line)
Retaining vs. Seat Walls: Retaining walls support grade changes and hold back soil; seat walls act as borders and add extra seating.
Curved vs. Straight Edges: Straight edges provide a modern, clean look, ideal for dining; curved edges soften the design and guide movement, especially around lounges.
Using Edges for Extra Seating: Low walls around fire pits or features offer additional seating without overcrowding the space.
Drainage and Grading Basics for Multi-Level Patio Designs
Two-level patios can help with sloped yards but may also create areas for water to collect, especially between levels.
Common Water Problem Areas:
Bottom of steps and landings
Inside edge of retaining walls
Where the upper and lower patios meet
Near downspouts
Simple Drainage Solutions:
Ensure each level slopes away from the house
Plan a clear exit path for water
Prevent planting beds from trapping runoff against the patio edge
For lower-level lounges or fire zones, ensure proper drainage to avoid water pooling. This ensures your patio functions properly even during heavy rain.
Materials That Visually Connect Both Levels
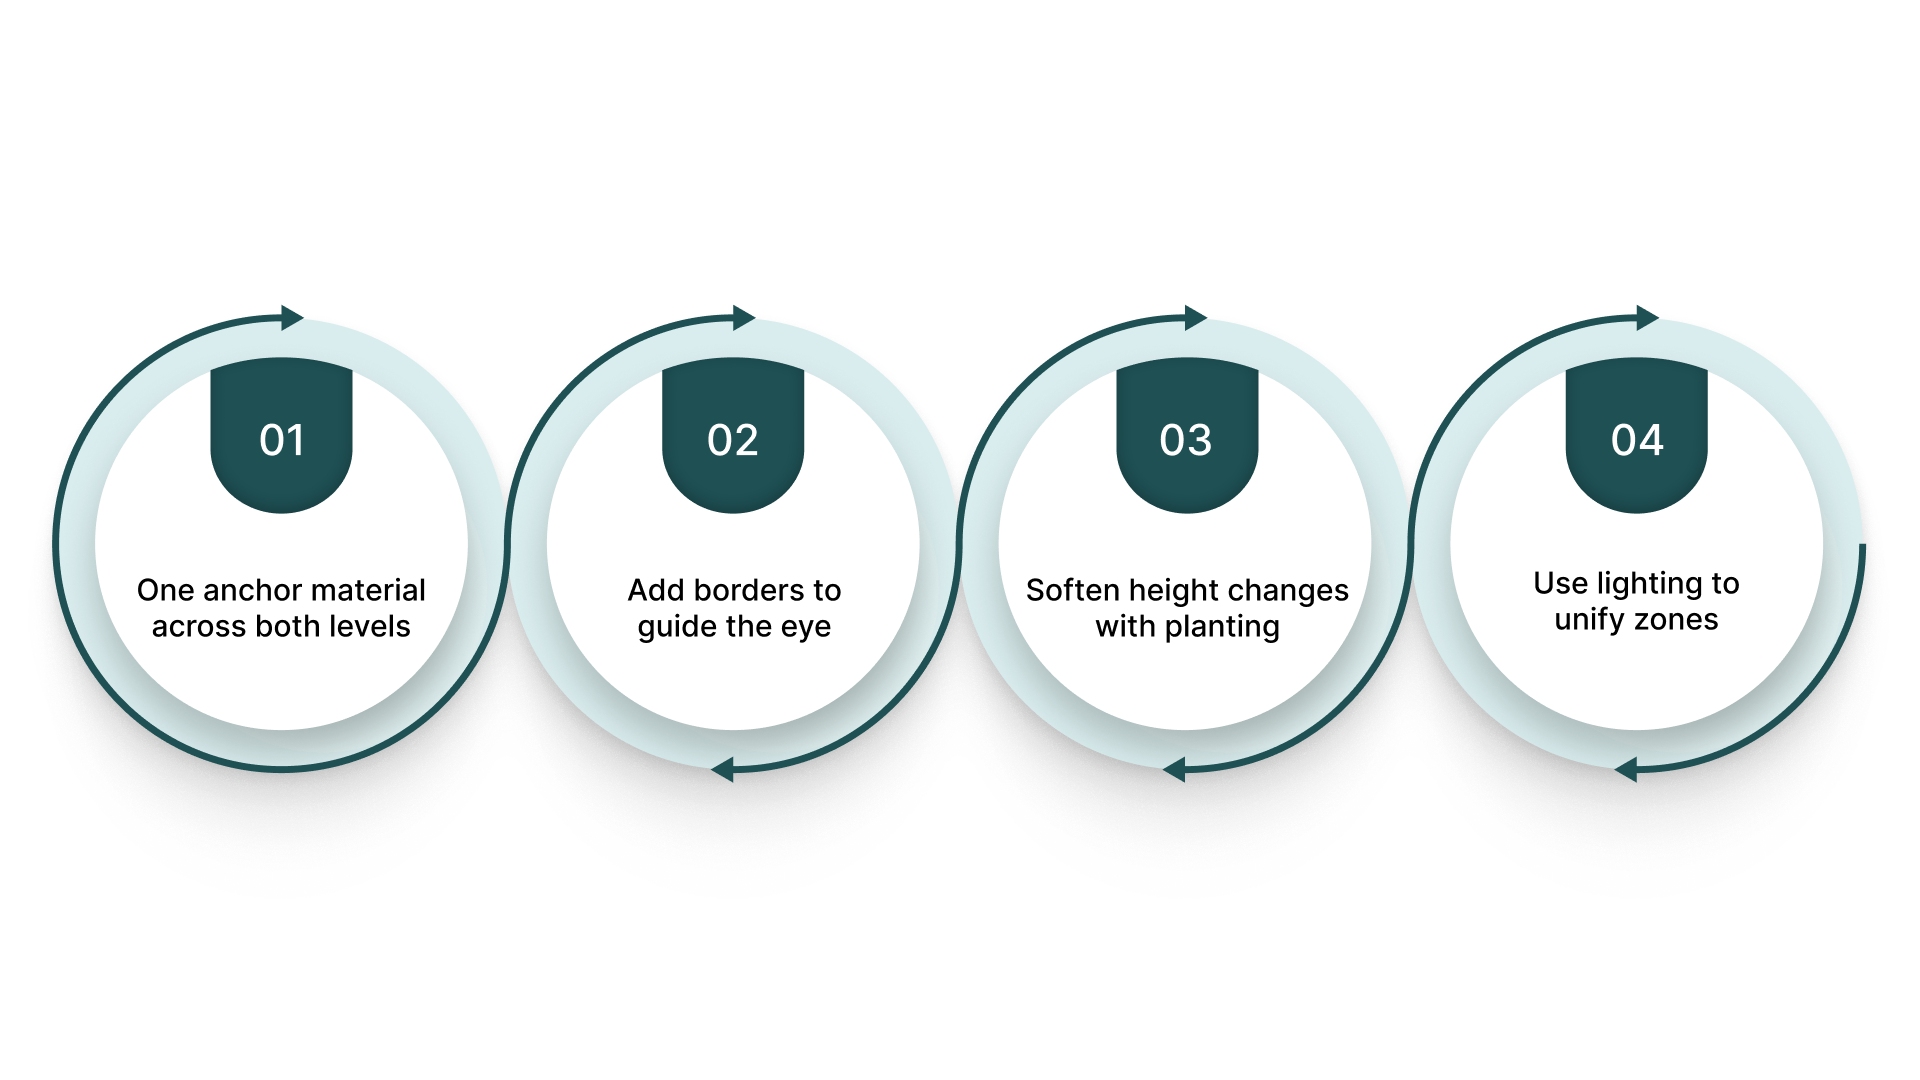
For a cohesive look, make sure the two levels feel related. Use similar materials or repeat one anchor material across both levels to create a seamless connection.
Use one anchor material across both levels: Choose one main surface and repeat it on both levels. Vary the pattern, not the material.
Add borders to guide the eye: Use contrasting edge lines, matching caps on seat walls and steps, and consistent step tread materials to make transitions feel intentional.
Soften height changes with planting: Plant low near step edges and taller plants for privacy, reducing the "hard cut" look.
Use lighting to unify zones: Keep lighting consistent across both levels to create a unified outdoor space after dark.
Cost and Timeline: What Changes Price on a Two-Level Patio
Two-level patios typically cost more than single-level due to increased complexity, including shaping the yard and building transitions.
Key Cost Factors:
Excavation and haul-off: Cutting into slopes and moving soil.
Walls and caps: Retaining and seat walls add labor.
Steps and landings: Require careful layout for comfort and aesthetics.
Drainage planning: Additional grading may be needed.
Access to the backyard: Tight spaces or long carry distances can increase labor.
Timeline Factors:
Weather: Excavation and base work depend on favorable conditions.
Material availability: Supply delays can affect scheduling.
Inspections: Utility or structural inspections may cause delays.
Planning Tip: Choose your layout first and prioritize what’s needed now versus later, like lighting or landscaping.
Mistakes That Make a Two-Level Patio Feel “Off”
Too many micro-levels: Two levels feel clean. Three or four small drops can feel fussy and harder to use.
Steps placed in the wrong path: If people must walk through the main seating zone to change levels, the space feels crowded.
No shade where you sit most: If the main lounge zone is in direct afternoon sun, you will avoid it in summer.
Drainage ignored between levels: Water pooling near steps and landings can stain surfaces and create slick spots.
Now that you know what to avoid, the final step is pulling the design into one plan that fits your yard, your slope, and how you host.
Plan Your Two-Level Patio With a Local Marietta Team That Builds It Right

A two-level patio needs the right layout, stable transitions, and drainage to ensure long-term stability. Work with a single team from design to install for a cohesive, durable space.
Higginbotham Designs is a family-owned and veteran-owned team based in Marietta, Georgia, with 35-plus years of experience building outdoor spaces that handle real yard grades.
Key services:
Custom patios and hardscape installation: creates stable upper and lower zones with clean edges.
Retaining walls and seat walls: manage slopes and add seating without clutter.
Outdoor living spaces: help zone dining, lounging, and fire features for smoother hosting.
Landscape design and landscaping: softens steps and walls so the patio feels finished.
Water features: add a calm focal point that can connect both levels.
Service areas include Marietta, East Cobb, West Cobb, Kennesaw, Smyrna, Roswell, and Acworth.
Wrapping Up
A two-level patio solves the problem of sloped yards by creating two functional spaces. One level accommodates dining, while the other offers a relaxing retreat. With well-placed steps and proper drainage, the design feels natural and effortless.
If you're ready for a patio that suits your yard and hosting needs, get a quote from Higginbotham Designs to plan the perfect layout before installation.
FAQs
1. How much height difference works best between two patio levels?
It depends on your slope and how you want to use each zone. Small drops can feel smooth, while larger drops may need wider steps and a landing.
2. Can you build a two-level patio without a retaining wall?
Sometimes. If the grade change is gentle, terraced steps and proper base prep may be enough. Steeper slopes often need a retaining solution.
3. What is the safest step width for frequent hosting?
Wider steps feel easier when people carry plates and drinks. They also reduce crowding when guests move between levels.
4. Should both levels use the same pavers or stone?
Not always, but repeating one key material or border helps the design feel connected and intentional.
5. How do you plan furniture on two levels before building?
Mark zones with tape or a garden hose. Place chairs and a table footprint to confirm walk paths and step locations before finalizing the layout.